From VPS to Deployment on Azure
Last year, I posted how to include a .NET API into WordPress using a custom PHP plugin using a free MySqlServer database as a backend. It worked and works great – but admittedly, I slack on renewing my “free” credentials and the demo kept going down. This week, I finally had the time to set up my own MySql database server for roughly $15 a year. Yep, a year.
I’ve gathered the resources, from getting your own cheap Virtual Private Server and where, to the tutorials I used and the notes I took during setup, to deployment on Azure.
Getting a Cheap VPS
Black Friday is one of my favorite times to shop online for random hosting deals!! The past couple years, my fave to hunt for are “low-end vps” deals. Why? Well, it’s your own server to put any Linux distro you want on it, control and learn from, destroy, rebuild, and use it however you want. Whats not to love? Oh – right it’s cheap, and therefore a bit unstable. Some companies appear and disappear overnight, I wouldn’t consider your data absolutely not guaranteed to disappear overnight, etc. For side projects and learning purposes, though, it’s great!
I have used two now that have stayed very reliable the past couple of years:
RackNerd is already live with their Black Friday sales:
https://www.racknerd.com/BlackFriday/
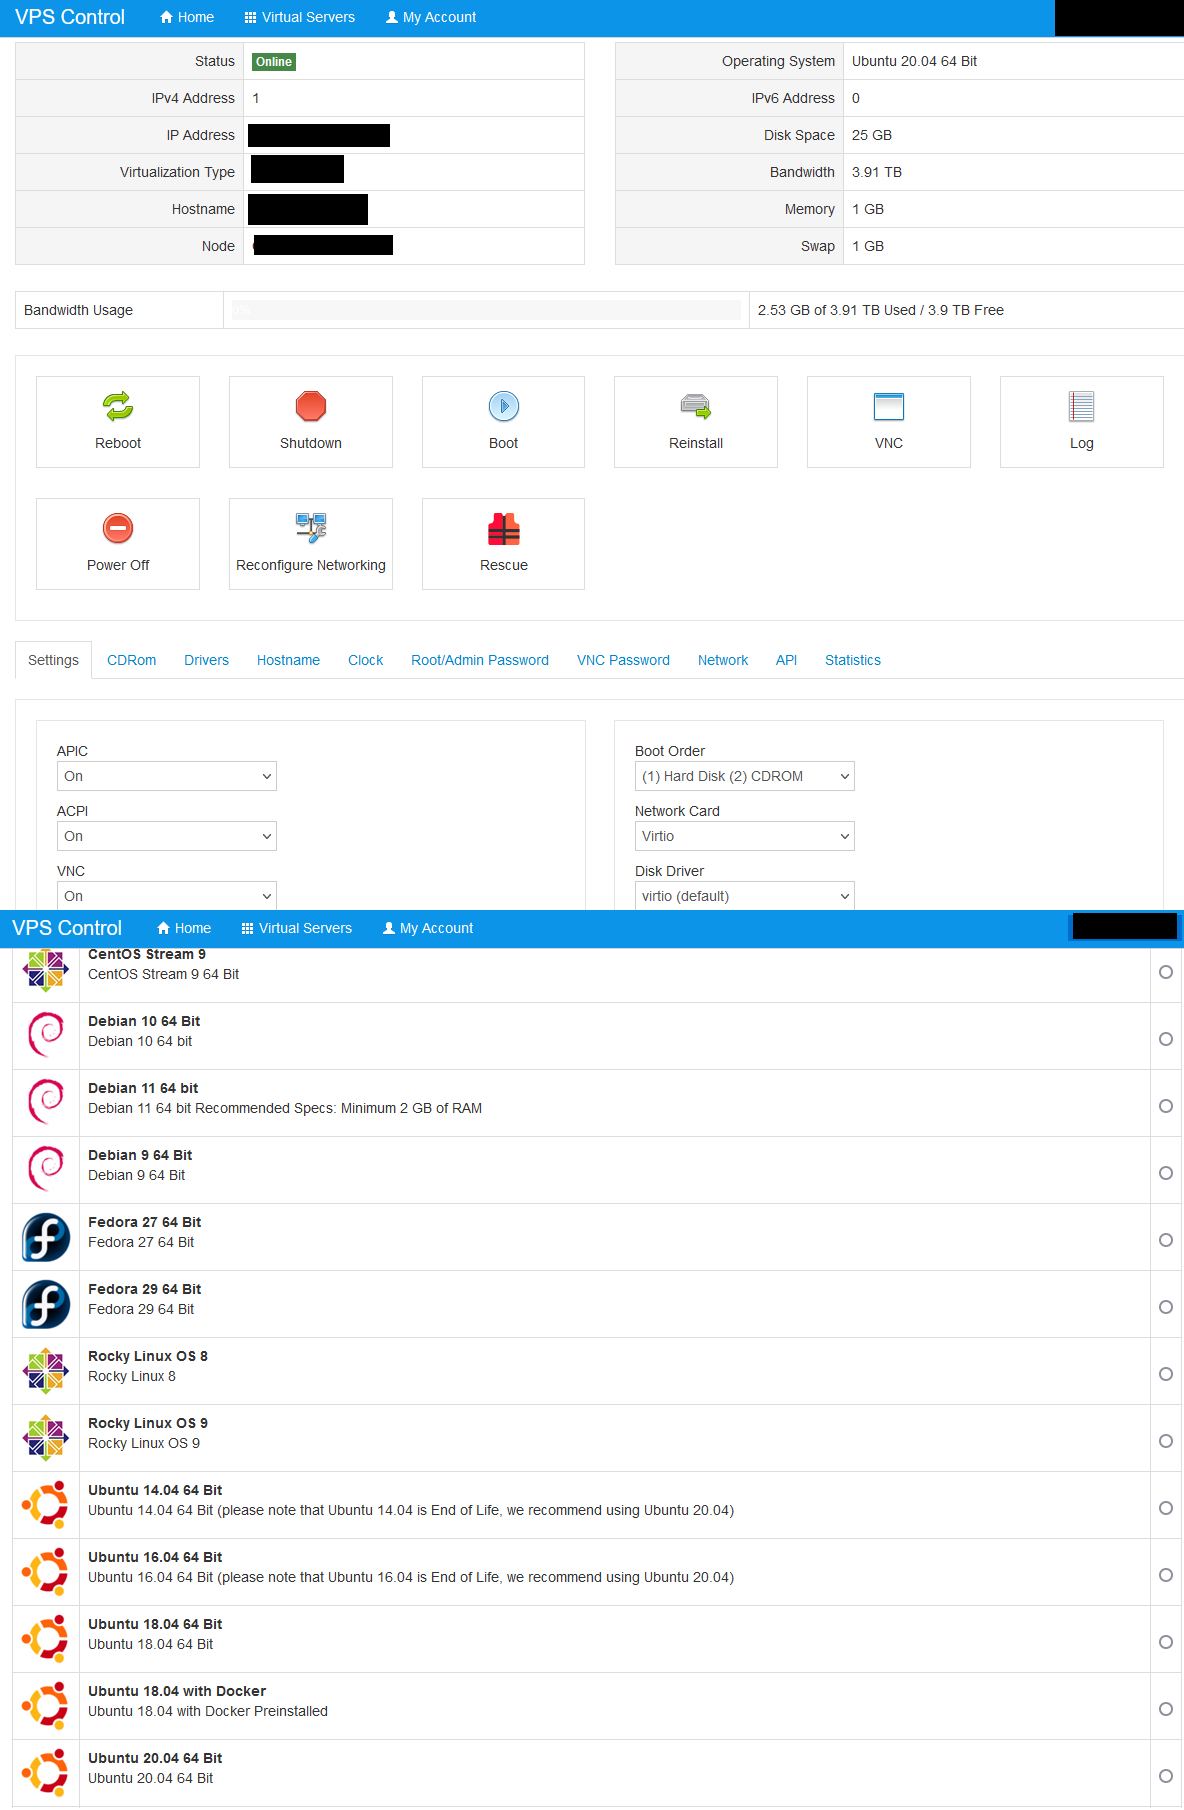
A peek at the VPS control panel:
CloudCone has some competitions going on now, but also some great deals. The best so far I got with them is 2vCPU, 2GB RAM for 19.84 per year.
A peek at the VPS control panel:

Once you purchase one of their plans, the process is automated. Your account is created, server assigned and all the admin info emailed to you.
I chose the 1vCPU, 1GB RAM on RackNerd as “the default configuration is designed to permit a MySQL server to start on a virtual machine that has approximately 512MB of RAM”, but also my machine is built for side projects and fun. Nothing serious.
All setup? Choose your OS! For this, I chose Ubuntu 20.04.
Access Your New VPS
You access the console using SSH:
Open your choice of terminal/console and SSH:
ssh root@x.x.x.x -p 22
The IP will be included in the email you receive after purchase. Once you enter the SSH command up above, you’ll be asked for password (also in email).
The VPS should all be setup!
Sidenote: DNS
I got my very own domain for this (more like I have a lot that I bought and are unused…) and needed to configure how to use it.
I use Namecheap, and so I created my own custom nameservers.
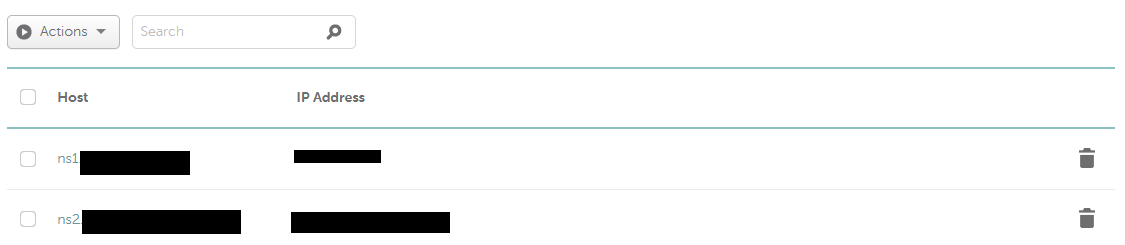
Pay special attention to STEP 7. You must create your own A records after you create your own name servers. (IP of new VPS in the black out VPS area)

LAMP Stack
My very first websites used to be on a LAMP stack and the reason was easy: cheap. What is a lamp stack? Linux (OS), Apache (WebServer), MySql (Database), PhpMyAdmin (Database Management UI). If you didn’t know before, it all makes sense now, right? All the components you need for web dev!
These days, I prefer .NET but with it now being cross platform, it’s time to explore that stack again (yes, you still need to install php as it runs phpMyAdmin on this server).
I won’t create my own tutorial, there’s PLENTY of how to install a LAMP stack on your new VPS server, but here’s the one I used and my notes after I did the basic install on VPS:
Notes:
After my basic install of Ubuntu from VPS control panel, I did have to install ufw:
sudo apt install ufw
sudo ufw enable
and add don’t forget to allow SSH (you know, so you can get back in…so i heard…) :
sudo ufw allow ssh
then continue to allow “apache full” (from tutorial)
Let’s Encrypt SSL
After full install, I added SSL:
https://www.digitalocean.com/community/tutorials/how-to-secure-apache-with-let-s-encrypt-on-ubuntu-20-04
Pretty straight forward install and if you were able to view your Apache site in tutorial, it should all go well.
Notes:
Remember by default, Let’s Encrypt expires every 90 days, so pay special attention to email reminders and the commands in tutorial on how to renew.
phpMyAdmin
Coming to the end, oh, I have a special place in my heart for phpMyAdmin. You import/export sql files. You can run all the commands to your little hearts desire and test and try all you want – in your very own playground! This particular UI was very easy for me to get hands on with a database. If you’ve been afraid to mess with a database NOW is that time. It’s your server, your playground.
Let’s set it up.
Notes:
With default install (Ubuntu 20.04), I could not find: /etc/apache2/conf-available/phpmyadmin.conf in Step 3.
sudo ln -s /etc/phpmyadmin/apache.conf /etc/apache2/conf-available/phpmyadmin.conf
sudo a2enconf phpmyadmin.conf
sudo systemctl restart apache2
From comments, I also did the following change in same file above:
soleraeus
…
You can go a step further to avoid script attacks by changing the route to phpmyadmin in /etc/apache2/conf-available/phpmyadmin.conf Just change at the beginning of the file “Alias /phpmyadmin /usr/share/phpmyadmin” by “Alias /yourcustomroute /usr/share/phpmyadmin” Makes it even harder to find and really does not tell attackers what is behind the access point if you use a good name.
.NET
You CAN use Entity Framework and you can continue on with all the tutorials and help. But some modifications I made:
Add the following package: MySql.EntityFrameworkCore
If you are deploying into Azure Portal, your connection string should look something like this:
string connString = System.Environment.GetEnvironmentVariable(“MYSQLCONNSTR_CustomName”);
An example of it used in DbContext:
public class MyAppContext : DbContext
{
protected override void OnConfiguring(DbContextOptionsBuilder optionsBuilder)
{
optionsBuilder.UseSqlServer(System.Environment.GetEnvironmentVariable("MYSQLCONNSTR_CustomName"));
}
Azure Portal
Ok, coming to end. When I first saw Azure Portal I was like this is like WHM on Boss Level? a CPanel Plus? If you’ve ever dealt with a LAMP stack and control panels, this .NET control.. “central?”. Larger than WHM as it holds much more than just web services. But that is not our concern right now. For resources,
Create Web App Service and every “service” requires a plan, so:
Pricing Plan:
Free F1
Shared infrastructure, 1 GB memory
Within Web AppService go to:
Configuration > Connection Strings
Specify name after _ (dash) and select MySQL from drop down, entering your connection string as value.
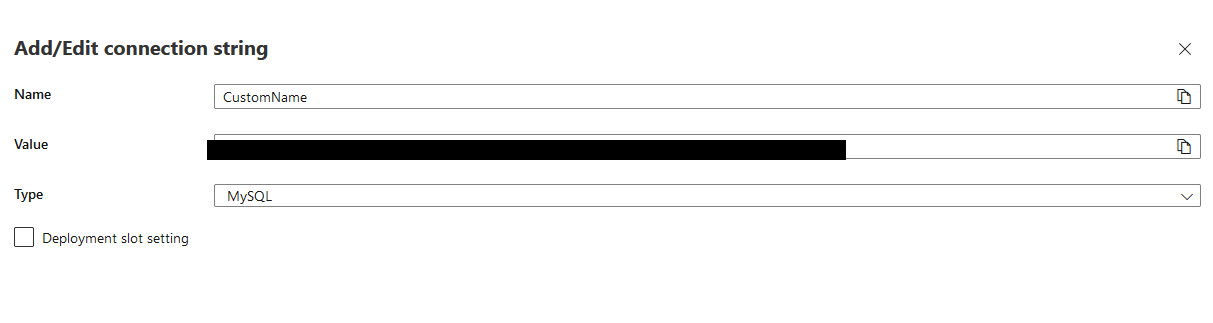
Final result:

Hit the Save button up top and done.
Still no MySql Access:
Edit mySql config:
Default configuration in MySQL only allows it to listen to localhost. To edit that config:
sudo nano /etc/mysql/mysql.conf.d/mysqld.cnf
comment out:
# bind-address = 127.0.0.1
save, restart mysql:
sudo service mysql restart
Your Own MySQLServer
It should all be set up and ready to go!
The current demo here: https://www.catrina.codes/net-api-into-wordpress-front-end/ is running on it.
Let me know if your own MySqlServer on a LowEnd VPS Running!